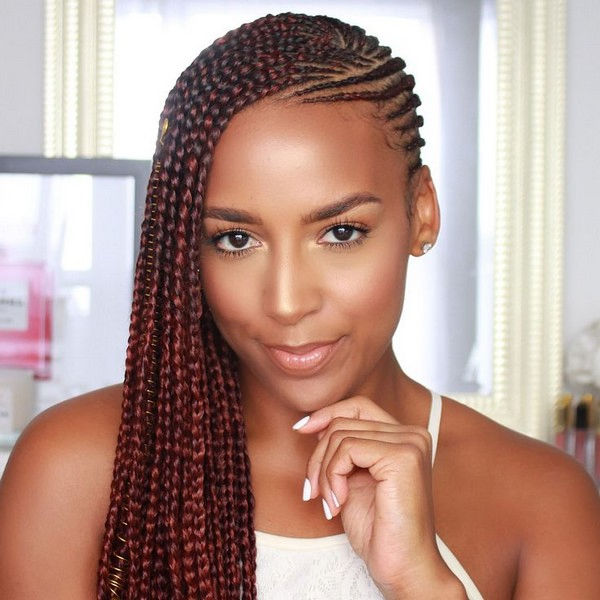
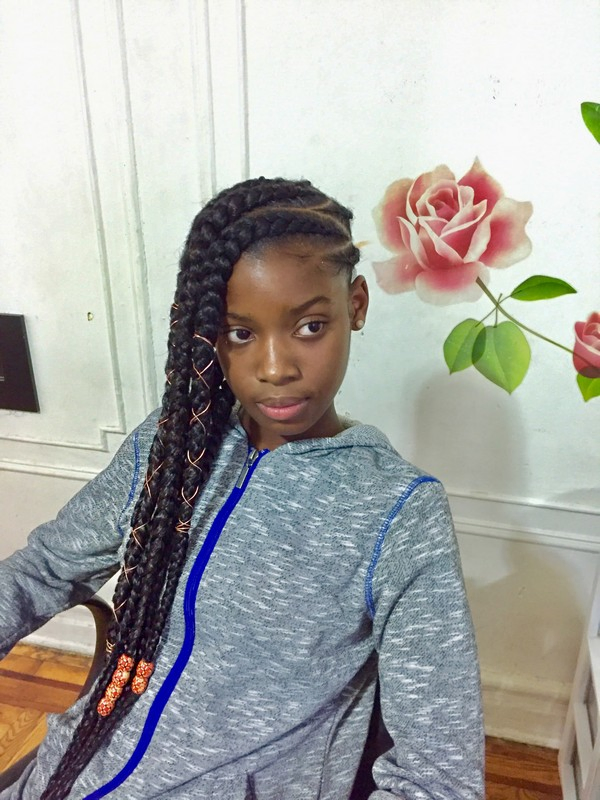
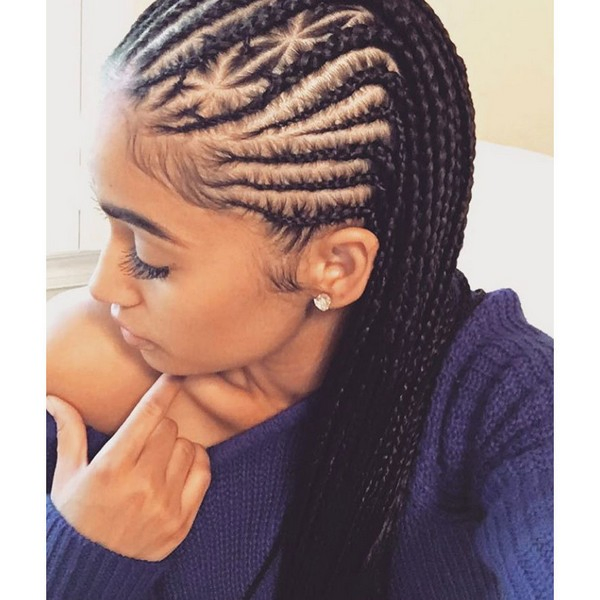
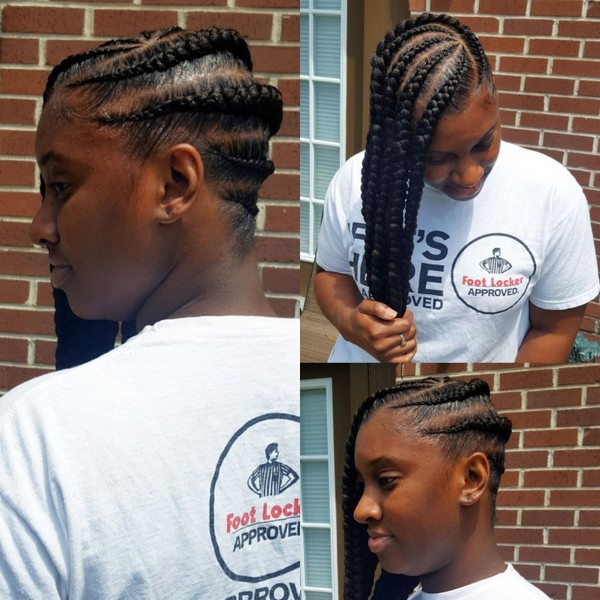
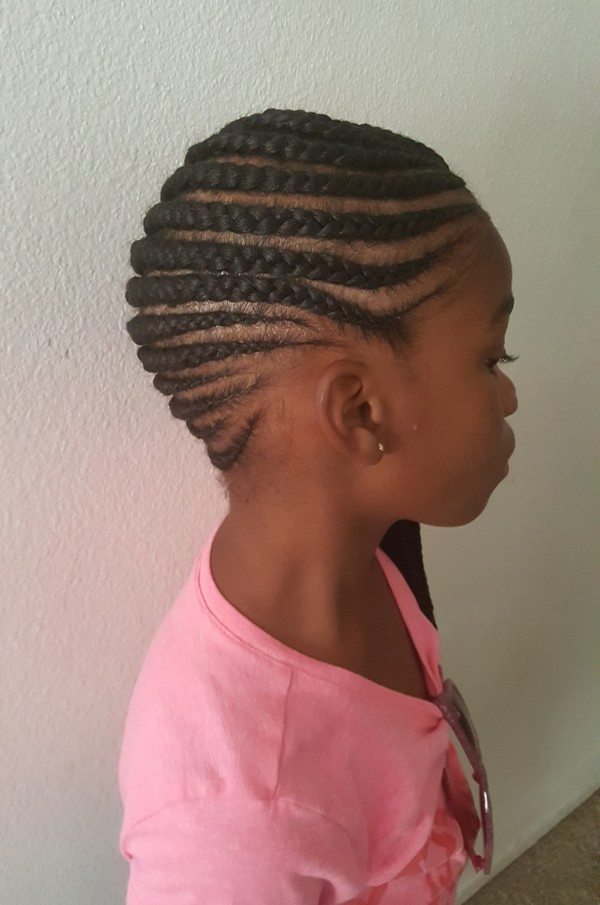
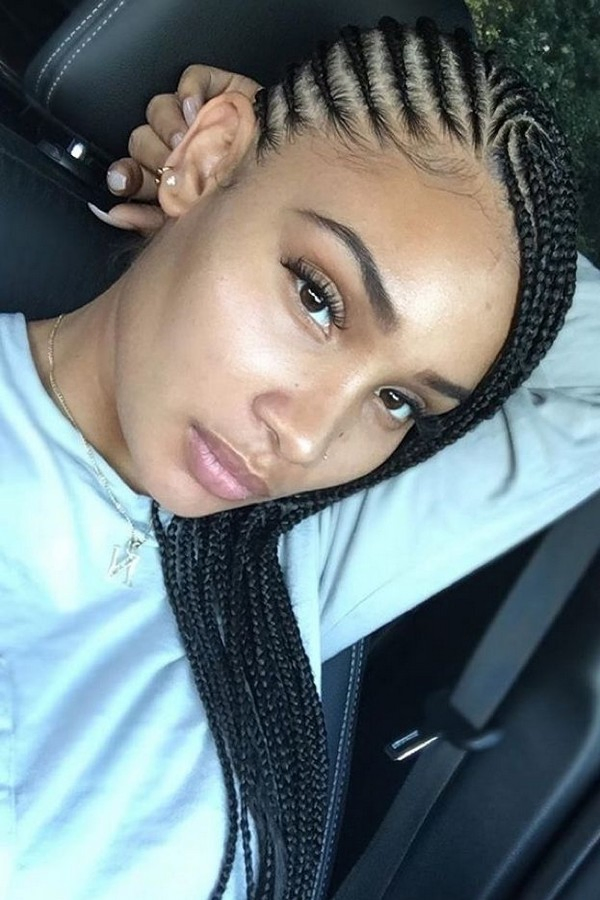
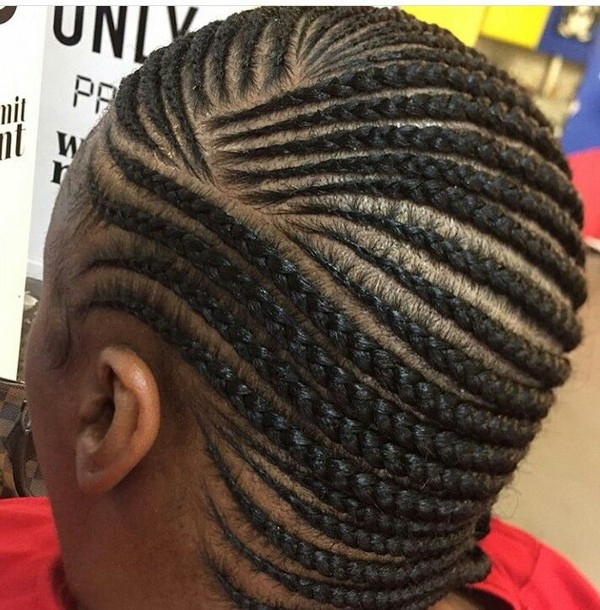
Lemonade braids are Beyonce-inspired side cornrow braids which she rocked during the filming of her Lemonade album. When it comes to rocking braids and cornrows, it seems like Beyonce and her sister Solange share the same interest.
Queen Bey did justice to them during her entire performance on her Formation tour. She also enjoyed wearing cornrow braids while she was still pregnant with her twins.
Beyonce is not only one of the biggest artists in the world but she is also one of the greatest trendsetters. People love her as well as all the things that she does.
Lemonade Braids & Hairstyles
Lemonade Braids Done Perfectly
Beyonce Lemonade Braids Hairstyle
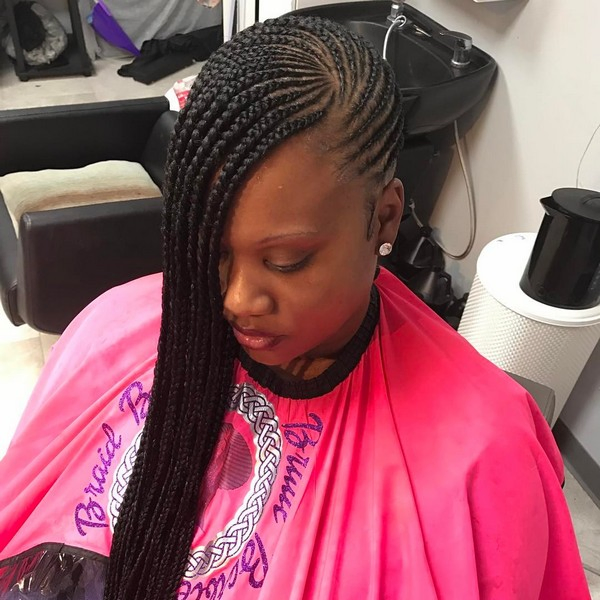
Lemonade Braids Kids
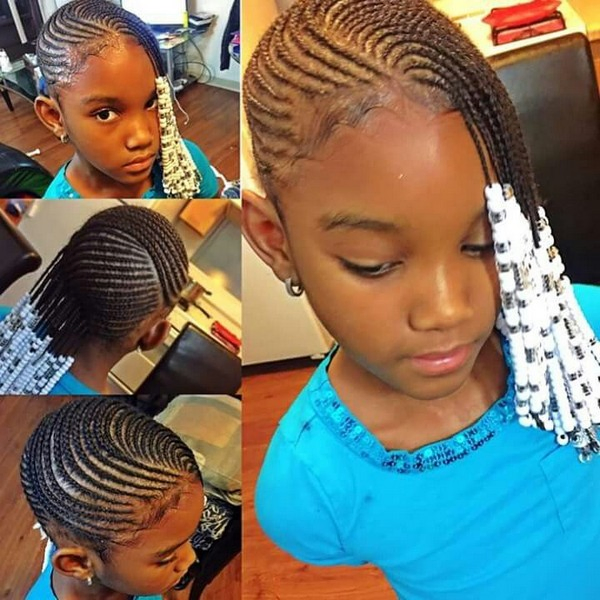
Colored Lemonade Braids
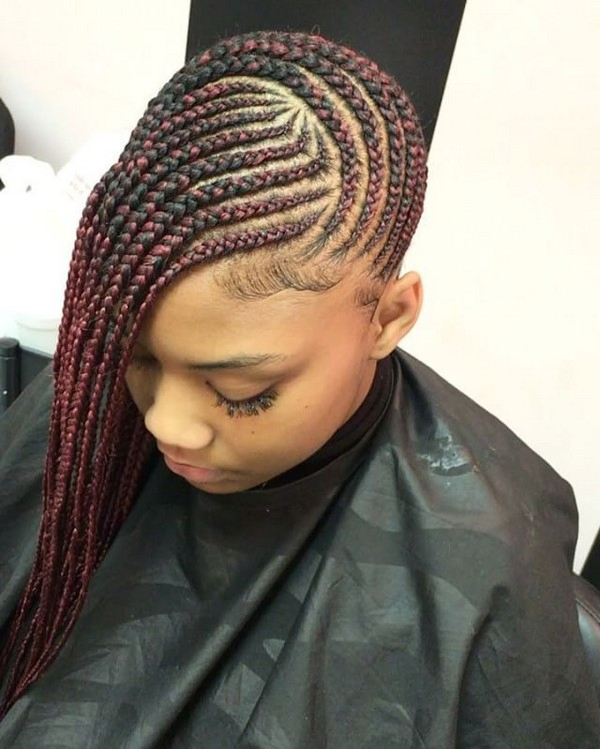
Large Lemonade Braids
Lemonade Braids & Hairstyles
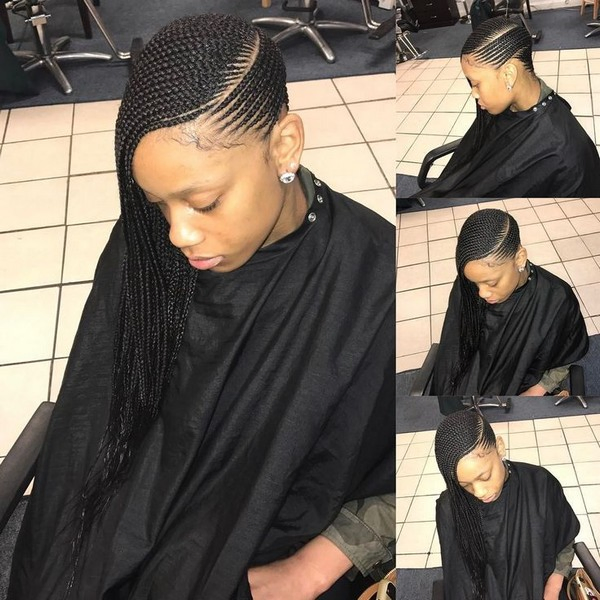
Scalp Lemonade Braids With Weave
Lemonade Braids Hairstyle
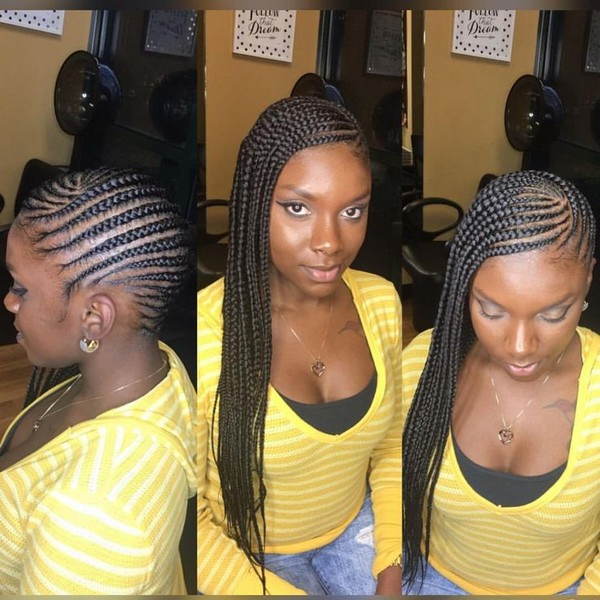
Lemonade Braids And Box Braids
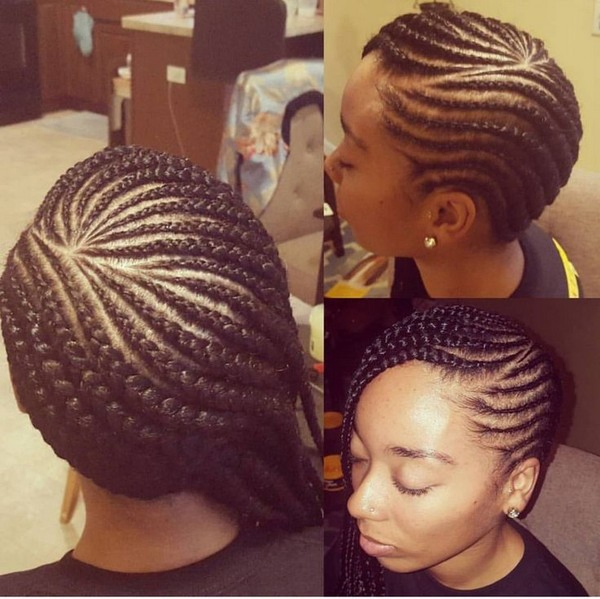
Neat Lemonade Braids
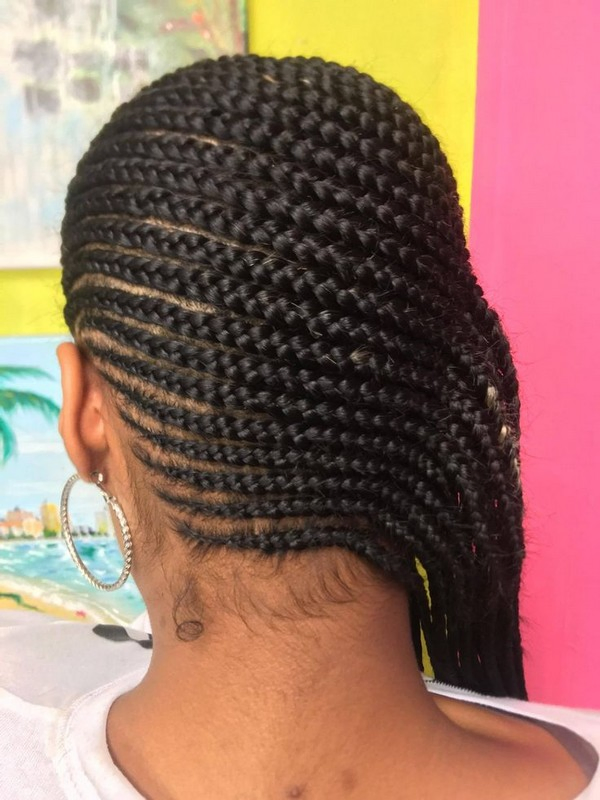
Lemonade Braids For Little Girls
Lemonade Braids Alicia Keys
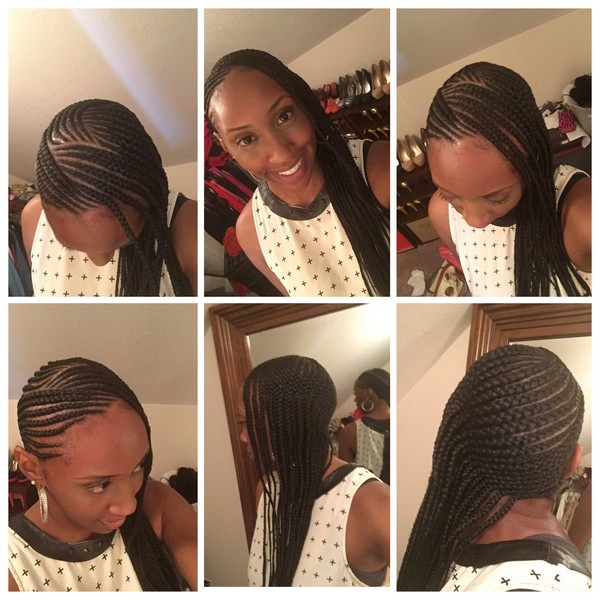
Lemonade Braids Beyonce
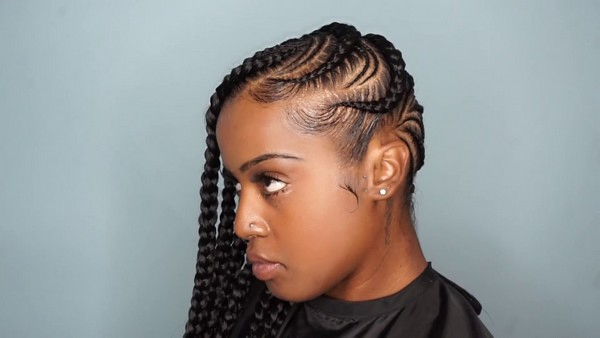
Gorgeous Lemonade Braids
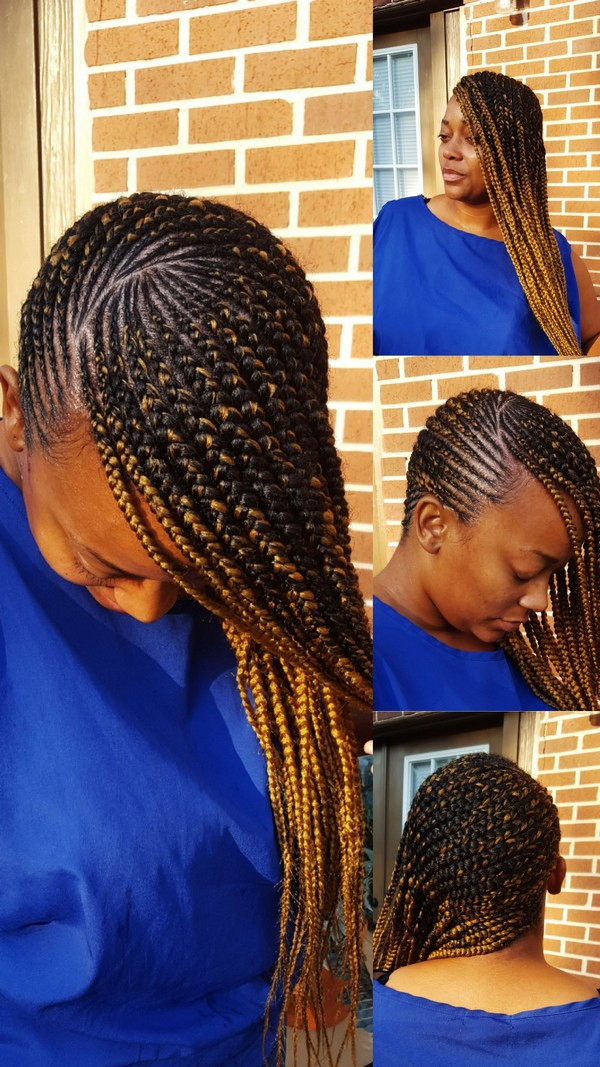
Blonde Lemonade Braids
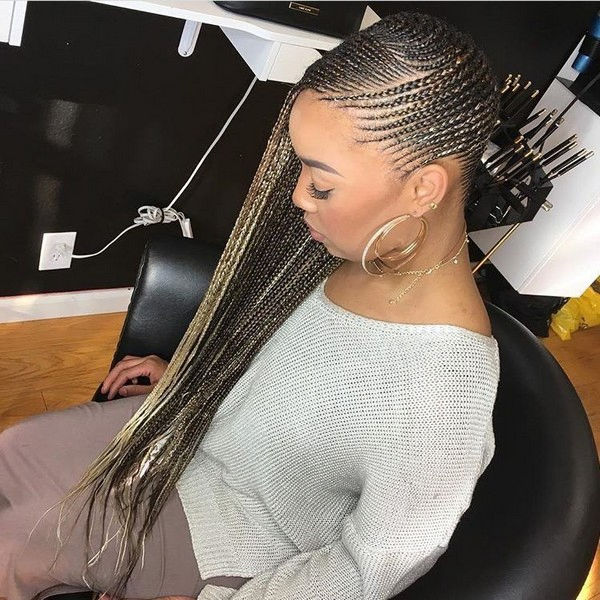
Protective Styles For Natural Hair
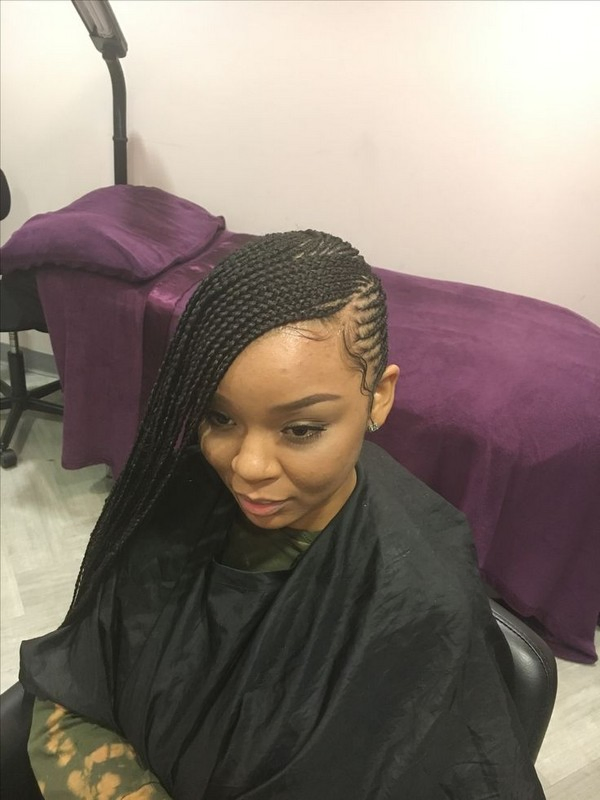
Jumbo Lemonade Braids
Jumbo Braids
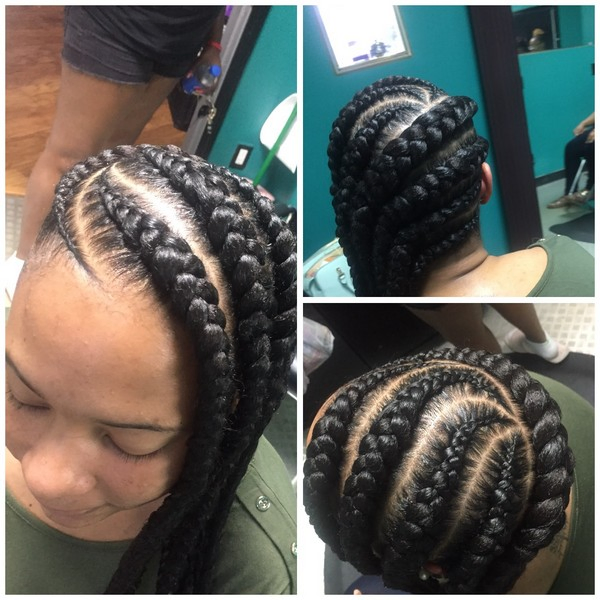
Natural Hairstyles For Kids
Elaborate Braid Designs
Lemonade Tribal Braids
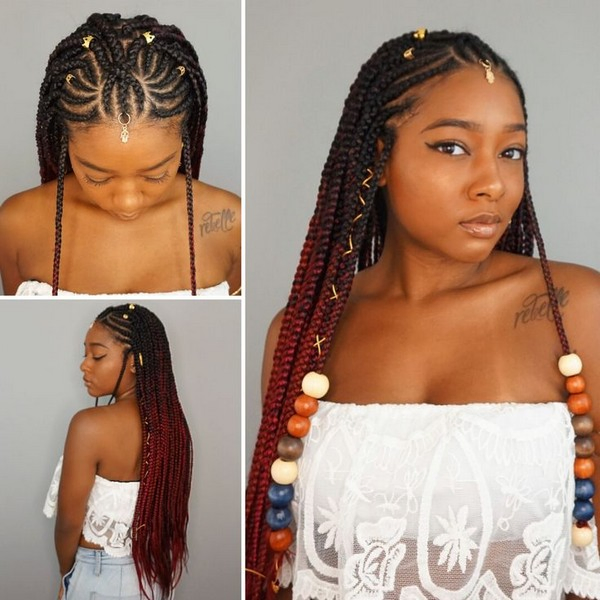
Lemonade Side Braids
Boho Beyonce-Inspired Braids
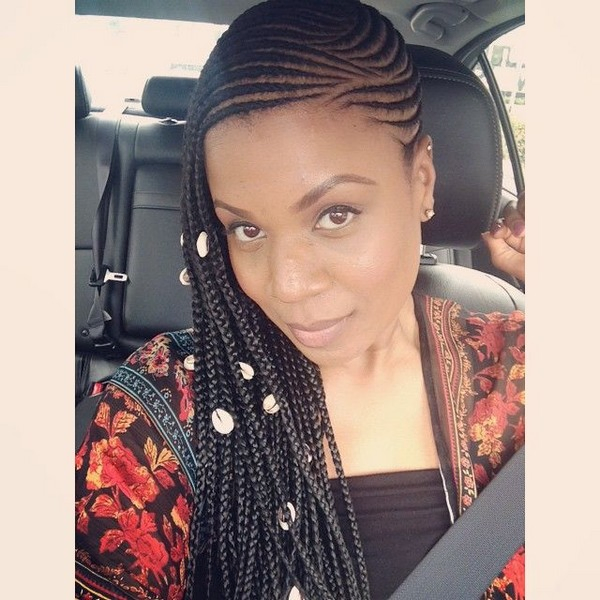
Dazzling Lemonade Braids
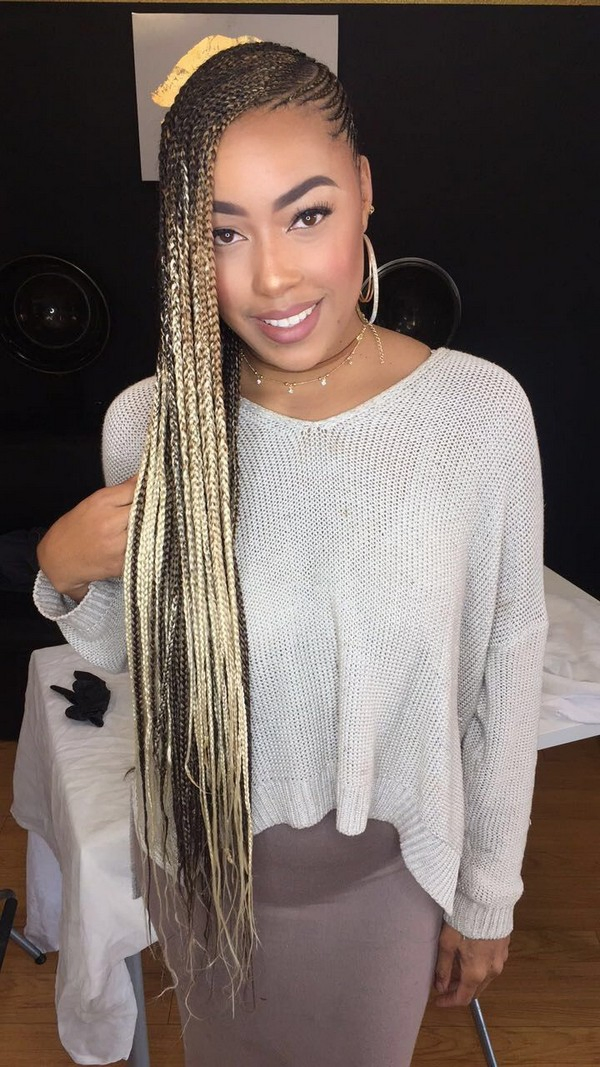
Side Lemonade Braids
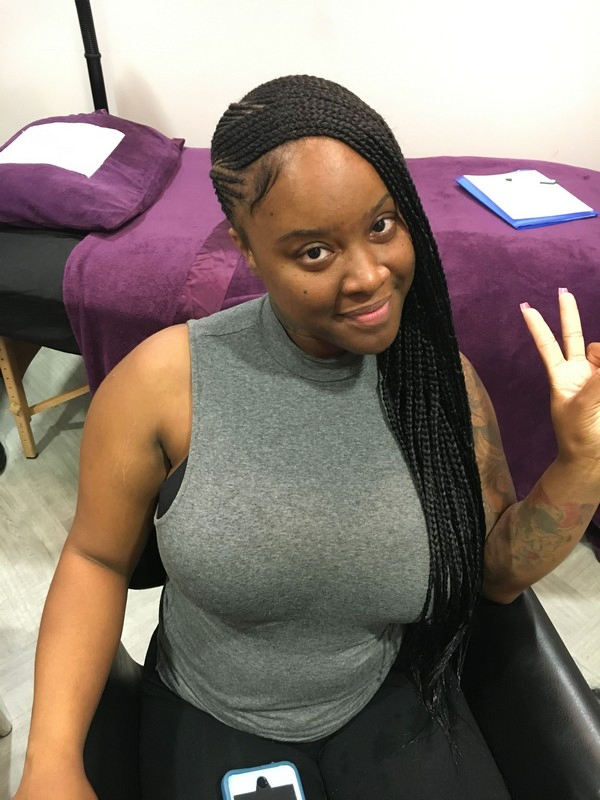
Side Cornrows
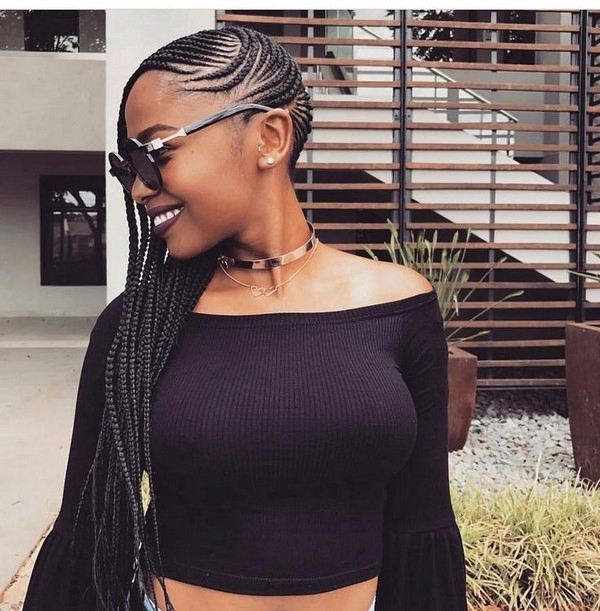
Beautiful Lemonade Braids
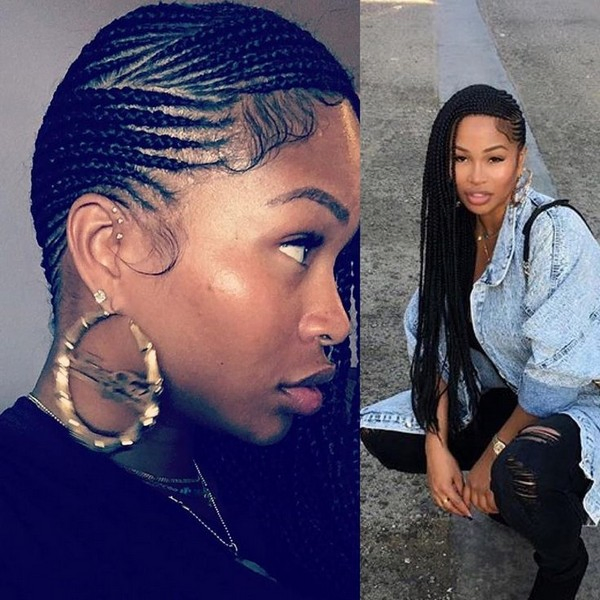
Big Lemonade Braids
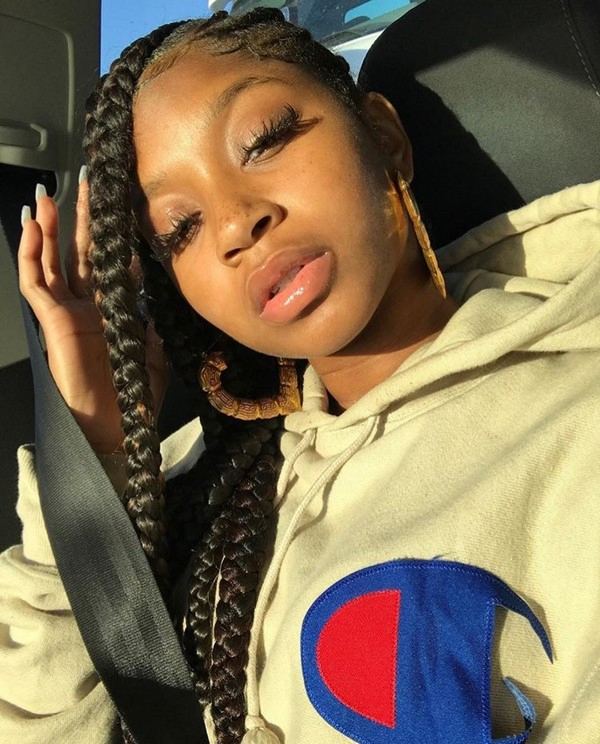
What are Lemonade Braids?
Cornrow-style braids, lemonade braids have become an increasing fashion trend. The name lemonade braids were inspired by the Lemonade album. The visual album featured stunning braids and hairstyles that have an antebellum appeal.
A visual album is one where all the songs have a music video. Due to this, the multiple appearances of intricate and stunning braids in the music videos gave birth to the term Lemonade Braids. Add in great marketing and building anticipation for that long-awaited album, Lemonade braids have become a hit since.
Beyoncé has always been daring especially with her hair. She has rocked everything from a short pixie cut to long braids. It seems that there isn’t something that she hasn’t tried yet. Most of these amazing looks are done by her long-time hairstylist Kim Kimble.
Kimble is also responsible for styling Bey’s hair on the “Lemonade” album. She created numerous attractive hairstyles that involve braids. There is a range of varieties such as cornrows, updos, and many more. Kimble makes it a point that her choices are historically relevant.
How to do Lemonade Braids: Step-By-Step Tutorial
When it comes to lemonade braids style, there are three things that you should consider in order to achieve this look. These are the lines, length, and edges of the hair. Make sure that the lines are cleanly cut-out.
The braid should be longer, at least near the start of your thighs. The edges of your hair should also be breathable so that your hairstylist can play with them. You need edge control and gel in order to obtain that baby hair look.
DIY Jumbo & Large Feed Lemonade Braids: Step by Step Tutorial
It is very important that your hair should be super moisturized.
Step One
Separate the hair. The front portion will have four braids. One side is curved towards the middle part of the head. The opposite side will be going down to the ear and this will be the side portion. Clip the hair out of the way using a butterfly clip since you will be starting at the back of your head.
Step Two
Separate the back from ear to ear. There will be two large sections on the nape of the head. Right above those two sections will be the less back section. It means that there will be a total of three braids. Right above are the two side sections. And then at the front, there will be four braids that will be hanging.
Step Three
Start at the nape section. Apply some styling gel and do cornrow braids on your natural hair then grab some Kanekalon hair. Use the long braiding hair in order to make it as long as possible. Add small increments of braiding hair as you go.
The further along that you get, increase the amount of braiding hair. In this way, you will have small to large braids, making them look more natural. Now, you have done your very first cornrow.
Step Four
Go ahead and move to the next one. Again, apply a bit of styling gel but make sure that it is not too slippery. Start braiding your natural hair. Grab a small amount of Kankelon hair and add it along as you go with your cornrow braids. Add more pieces of braiding hair when you get to the corner in order to have larger braids.
Step Five
Move to the third braid. Start at one side, just right above the tip of your ear. Since this will be a longer braid then you need more braiding hair for this one. You’ll probably need two and a half packs of braiding hair all in all since these are jumbo braids.
Step Six
After finishing the back part, you’ll be moving to the front side. Again, start with your natural hair then add some braiding hair as you go along. Do this for the rest of the remaining four braids at the front.
Step Seven
Finally, polish the look by applying a small amount of gel to your baby hair.
DIY Small Feeder Lemonade Braids To The Side: Step by Step Tutorial
In this style, you need about one and a half packs of Brazilian Soft Braiding Hair and some styling gel. Make sure that your hair is washed thoroughly and deeply conditioned, making it look more natural and healthier.
Step One
Start at the back of the head and gather a small portion of the hair. Since these are smaller braids then you’ll be feeding in super tiny pieces of braiding hair. Place the synthetic hair between your thumb and pointer finger and continue braiding. After crossing three or four times, add some synthetic hair. Be sure that your synthetic hair should match your natural hair. Keep in mind that as you go along, the pieces of hair that you add should get bigger until such time that you’ll get the desired thickness that you want.
Step Two
When done, go to the next section. Defining the section is very important, that is why you need some type of edge control gel or pomade in order to help you see clearly. Also, your hair will stick together so braiding is less painful.
Step Three
Move to the side of your head and separate a small portion of hair. Perhaps you are wondering how many pieces of hair you have to feed in per braid. For this style, you can use four or five synthetic hair at the top and towards the end of the braid.
In the middle, you don’t have to add too much because you don’t want the braids to be super thick. The most important thing is you are feeding in at the beginning and you’re feeding in towards the end of the braid because that’s how you’re going to get your length.
Step Four
Before doing any braids on the opposite side, part a half circle around the ear. Do four single braids along the ear.
Step Five
Once those singles are completed, start braiding along the crown of the head in the opposite direction. Do four braids on this side of the head.
Step Six
In order to achieve that zigzag look when you’re doing feeder braids, you need to go back to the opposite side and continue braiding in the opposite direction. Once you have done about three to four braids in this direction, it will create that zigzag effect. The direction that you’re braiding will create that part for you. When you’re done, you’ll have three braids in the opposite direction. This is how the zigzag effect is done.
Step Seven
Finally, for the last braids, they will just be going straight down. Just follow the same curve that you did with the four braids at the front. Literally, this whole section is gonna be going straight down.
Step Eight
Once you’re done braiding, apply mousse to create an extra hold. It will be super soothing to the scalp. Apply keratin treatment to manage dry and itchy scalp. Use an edge tamer to slay the edges and an eyebrow brush to smoothen the edges.
Getting your Lemonade Braids
Lemonade braids, also known as side braids, look simple, yet bold. Aside from Beyonce, Nicki Minaj also adores this trendy style. This new protective style adds a touch of elegance and edge to your look. It is perfect if your natural hair requires a break!
The first thing that you have to do is to decide which side the braids will fall on. For instance, if you are right-handed then you can let the braids fall on this side.
Maintaining these braids can be done easily. All you have to do is wrap them up at night using a scarf. Then remove it in the morning. So easy! If you’ve felt stuck with your natural hair then now is the time to try this look. You’ll surely love it!
Some women do not enjoy their natural hair. But with a new look, you can surely appreciate the hair that God has given you. Your natural hair requires some hair care products. However, some of these products may work on other people but not on you. That’s fine since you’ll probably discover something that will ultimately work for you.
Going natural is probably one of the best choices that you’ll make. So learn to embrace your curly hair or long lemonade braids.

